How To Install your Fold Away Antenna
Mounting your Antenna on a Caravan/ Pop Top/ Hybrid Caravan
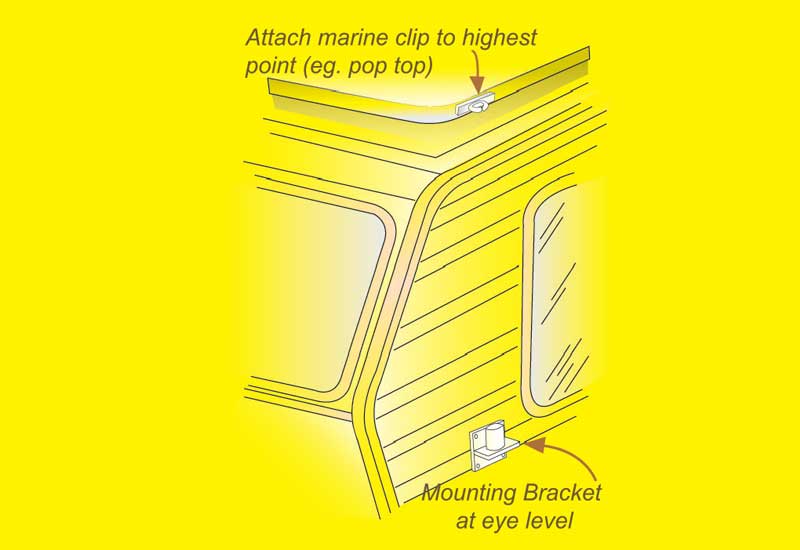
Step-1
Always turn your power off and use a waterproof silicone between the brackets and the van. Attach the top clip as high as possible on the van, then mount the bottom mounting bracket so that the antenna has one full section of mast above the roofline (or about 60 cm) using the stainless steel screws provided.

Step-2
Push the tubing together with the cable inside the poles – coming out of the slot on the bottom/lock off pole and plug directly into the socket on your van (we highly recommend our direct connecter for a better constant signal).
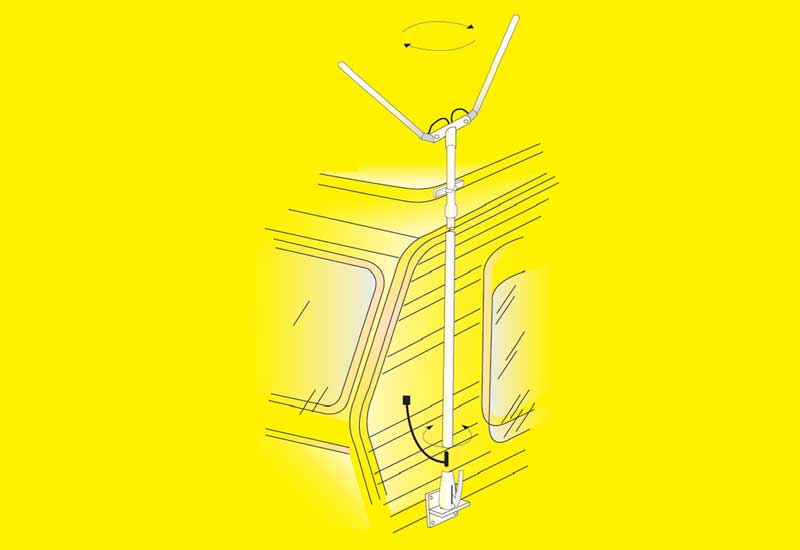
Step-3
Finally, push the antenna into the top clip and place onto the bottom mounting bracket. Lock off using the umbrealla clamp. Tune the TV, rotate to receive a good signal and lock into place.
Setting up your Fold Away Antenna in 4 easy steps
All Fitting and trouble shooting go to the link below.
1
Tighten the arms if needed, so they are firm but not rigid. If they sag, please tighten them a little more.
2
Start at 10 and 2 o’clock.
3
Do an auto Scan and see how many digital TV stations you are getting.
4
Turn the antenna to receive the signal from the repeater.
If the signal needs improvement, start changing the element arms (in front of the TV is a good spot-maybe looking through the door) until you find your happy medium. When you are happy with the reception you may like to do another auto tune to see if you can get a few more.
Setting up your Amplifier in 4 easy steps
If you need an Amplifier for the area you are in due to poor signal/pixilation.1
2
3
4
Repeat Antenna set up above.
If you’re travelling frequently, outside of main towns or in remote areas, an amplifier is a must to ensure your best chance of quality TV.
Please do not use the Amplifier until you have pixilation/poor signal. Too much signal will cause poor reception and the TV will not work properly or at all, so just use the Antenna only in these areas.
Get better pictures wherever you go with a Fold Away Antennas
We designed the portable Fold Away Antenna to bring in very good signals from Digital, VHF, UHF, SBS and even FM radio.
The antenna can be used for horizontal and vertical signals, using our patented design. Another unique aspect of Fold Away Antenna is that it can be positioned into an inverted V configuration for easy fine tuning. No other caravan antenna can be compared to it!
Get better pictures wherever you go with a Fold Away. The Fold Away Antenna has been tested all around Australia and New Zealand. The Foldaway Antenna is compact, lightweight, durable, good value and maintenance free.
We’ve packed in real performance at an affordable price, for people on the move.
Installing your Direct Connector
By using a Direct Connecter rather than a TV wall socket you will improve the amount of signal that your TV needs to operate correctly. A standard TV wall socket will also break down and fail at any given time were a Direct Connecter will not and can not fail.
Tools Needed:
Drill, 25mm hole saw or step drill, 3mm drill bit for screws, Phillips head screw driver Good quality silicone or Sika Flex adhesive preferably white, Turps, Rag.
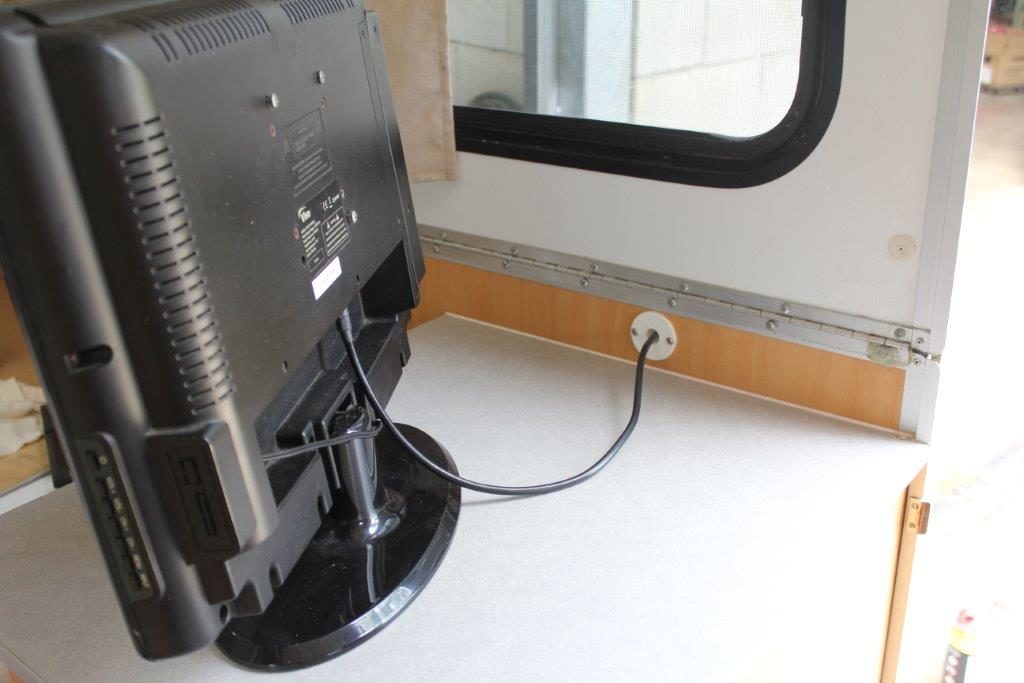
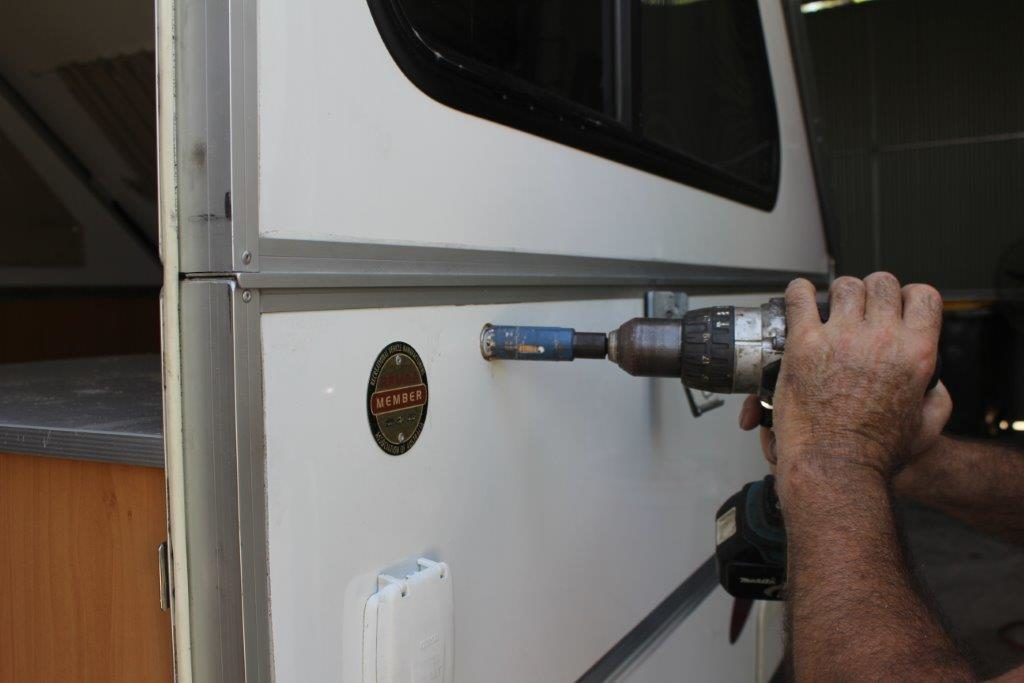
2. Drill 25mm hole through the wall of the van and test the size by sliding the outer nozzle in.
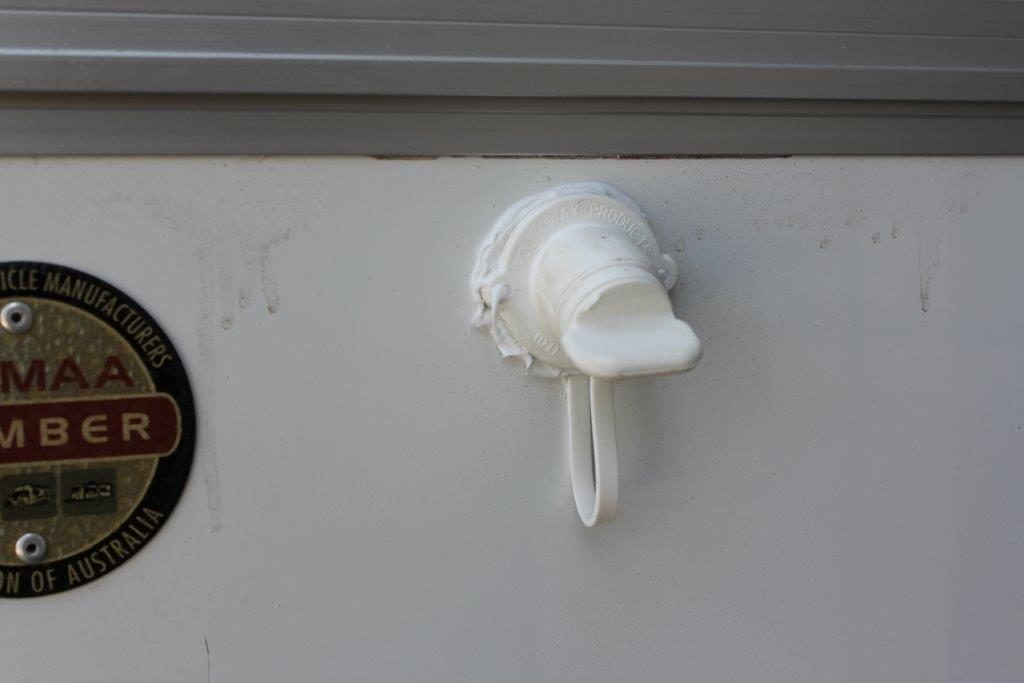
3. Start the fitting process on the outside of the van, put the strap and bung on the outer fitting so that the bung is the right way around-then apply your silicone sealer to both sides of the strap that is around the nozzle.
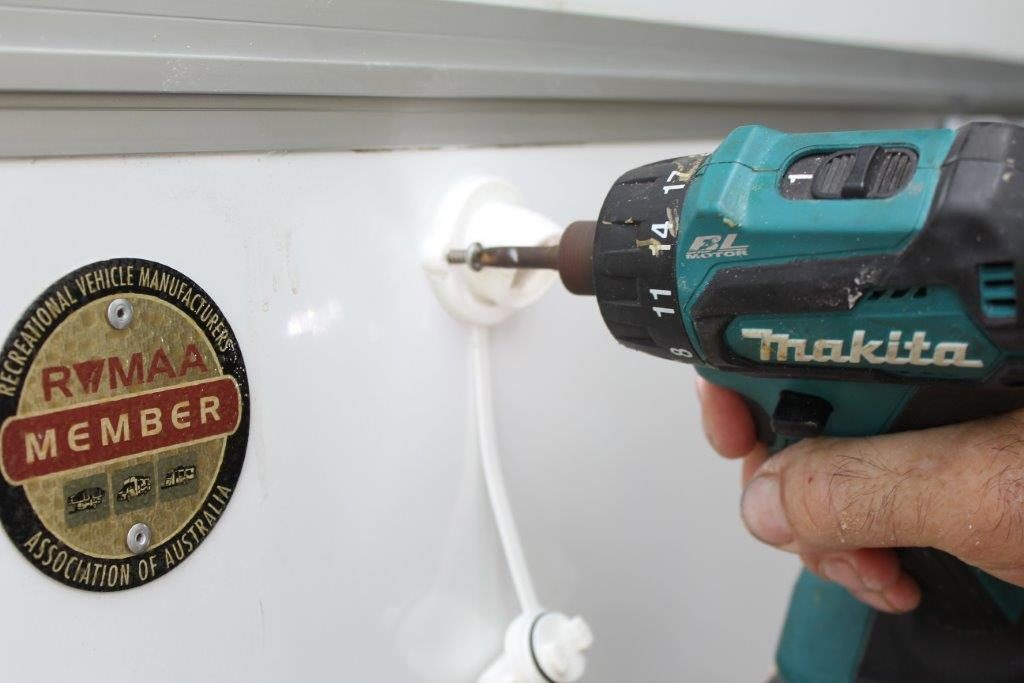
4. Insert outer nozzle so that it is positioned in a downwards direction, the silicone should squeeze out as you screw it off using 2 of the stainless-steel screws provided. Clean off excess silicone with turps.
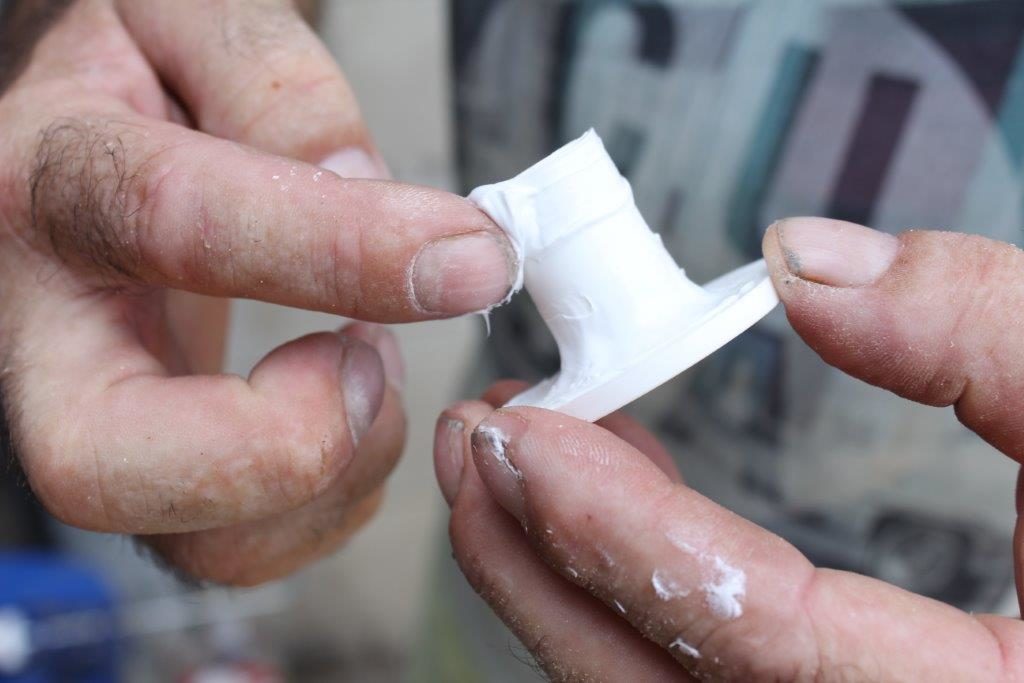
5. Now move to the inside of the van to fit the inner fitting. Apply a small amount of silicone to the inside of the inner flange, insert the flange end and screw off with the remaining 2 screws.
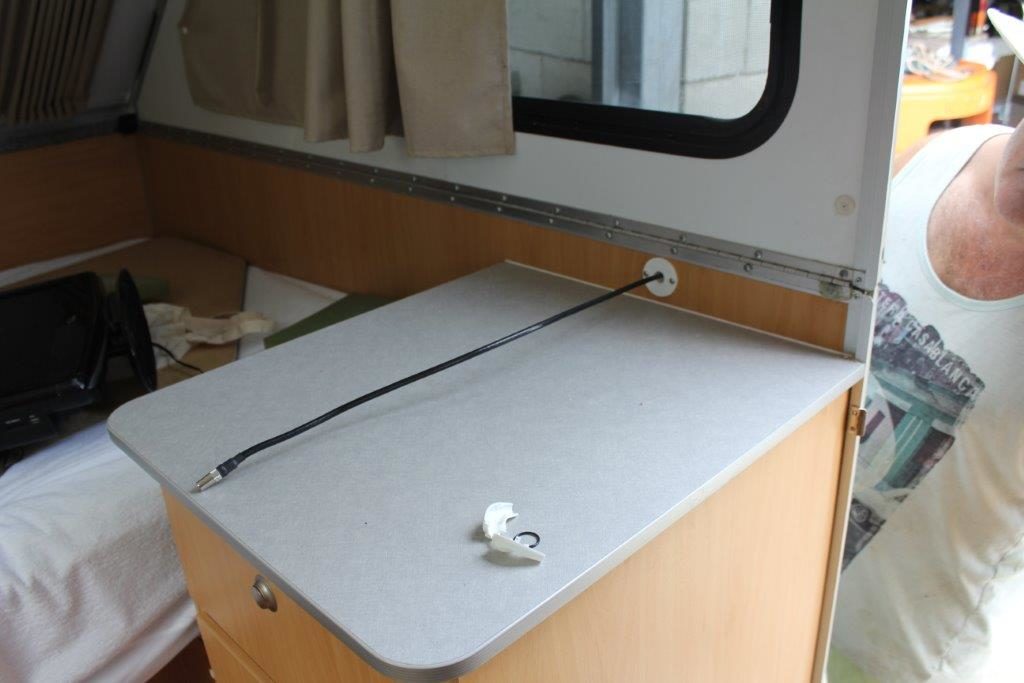
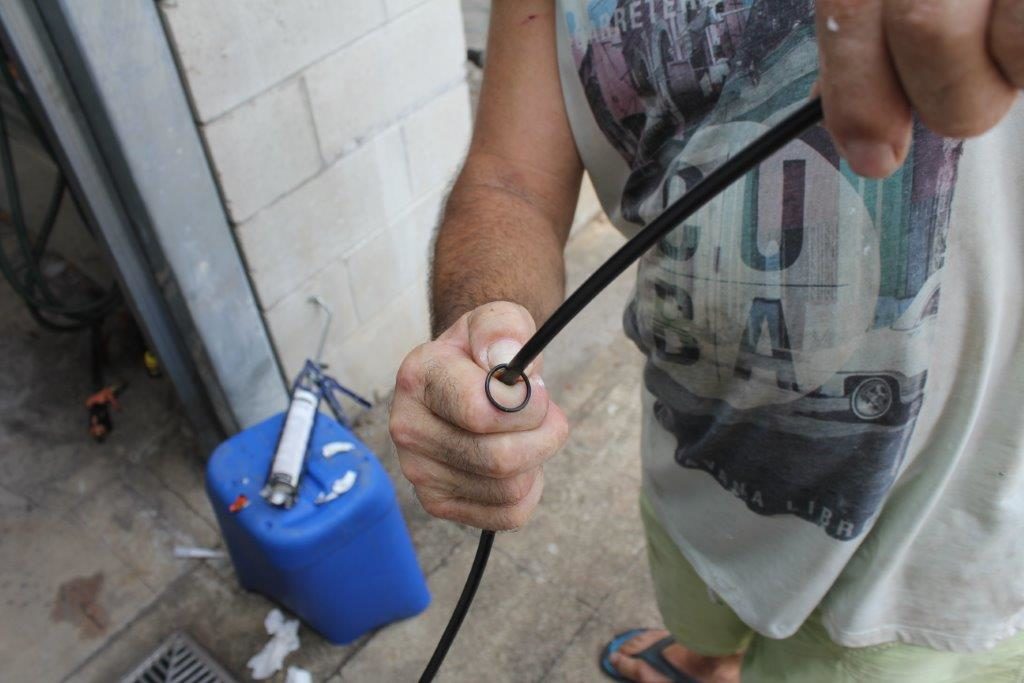
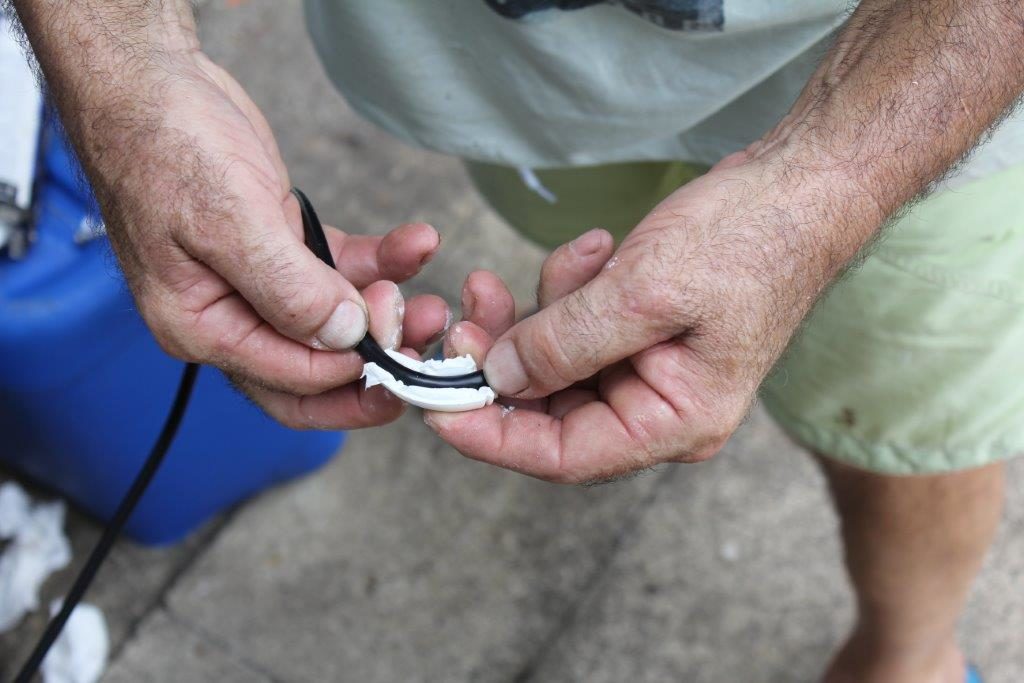
8. Apply silicone to the inside (both pieces) of the nozzle and clip to the Coaxial cable (to the measured point) with the narrow end closest to the O ring and Antenna.
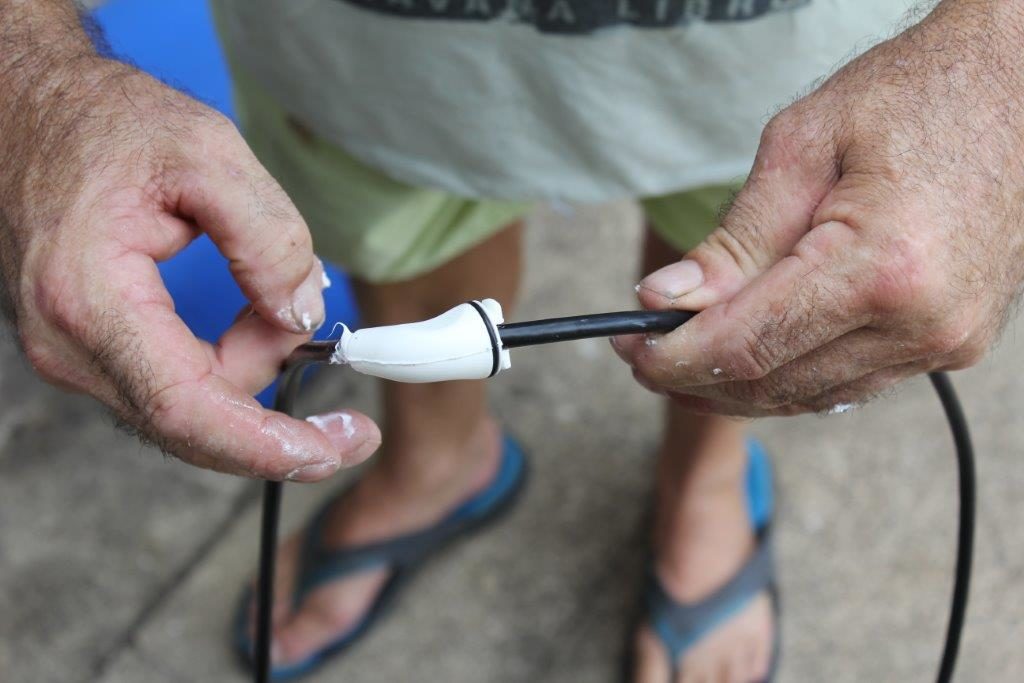
9. Now that the Nozzle is attached roll the O ring over the nozzle and into position (the groove on the large end of the nozzle).
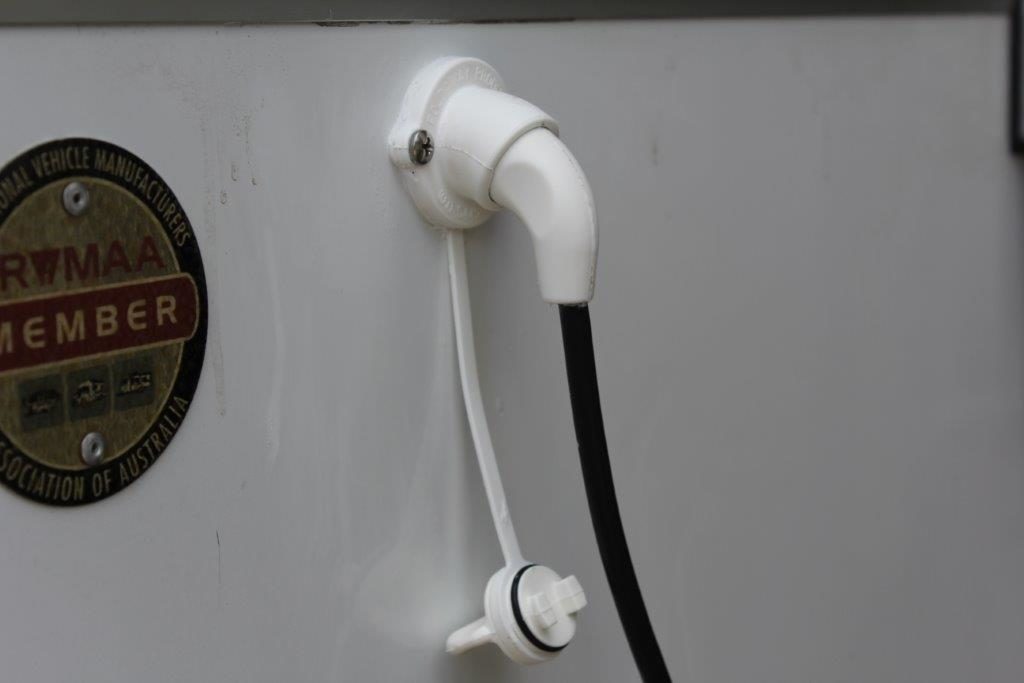
10. Clean up with turps and leave the silicone to set before use.
If you need any other products or parts, please visit our online shop.
Mast Support bracket (NEW Product)
For a Tall Boy and Standard antennas, comes with the Pocket Bracket, screws and approximately 1.6 m mast support, can be mounted on any appropriate solid surface to support your antenna. Weighs about 1.5 kg in total.
This new mount solves the problem when there is nowhere to mount an antenna especially on Soft Walled Campers.
It holds a 50 mm x 50 mm x 3 mm Aluminium angle to support your antenna. This support has been pre-drilled to fit your antenna mounts If you attach the bracket to the hard body of your camper or Caravan, make sure the join is sealed with a water proof silicone sealer.
- Simply attach the bracket(with the self drilling tech screws provided) to the inside of your Toolbox, Tyre carrier, Side wall or draw bar (flush or slightly up from the underside) so that it doesn’t get ripped off when travelling through undulating country. As it can be fitted to your Tool box or any solid surface that will support your antenna (if you fit it to the wall or body of the camper or caravan seal the join with an ample amount of water proof silicone sealer and always trim the screws FLUSH to avoid injury. You also may like to replace the tech screws with stainless steel screws in this case)
- Fit your bottom antenna bracket and the top clip to the mounting post using the pre-drilled holes so that the bottom mount facing up towards the top clip, about 5 mm of the angle post should protrude through the bottom of the draw bar bracket. Trim the screws FLUSH to avoid injury so that they are not sharp to prevent an injury.
- Then drop the aluminium angle into the Draw Bar Bracket to support and attach your Antenna mast, it will be snug so don’t force it, the bottom antenna bracket will act as a stopper.